Sending a Quick SMS #
Use the Quick SMS feature to send messages instantly. Here’s how:
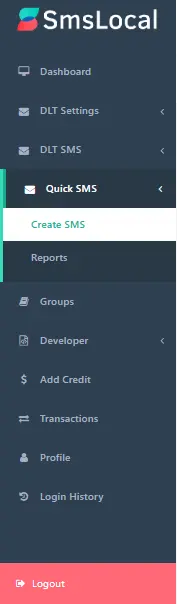
Step 1: Navigate to the Quick SMS Section #
-
On the left sidebar of your SmsLocal dashboard, locate the Quick SMS menu.
- Click on Quick SMS to expand the options.
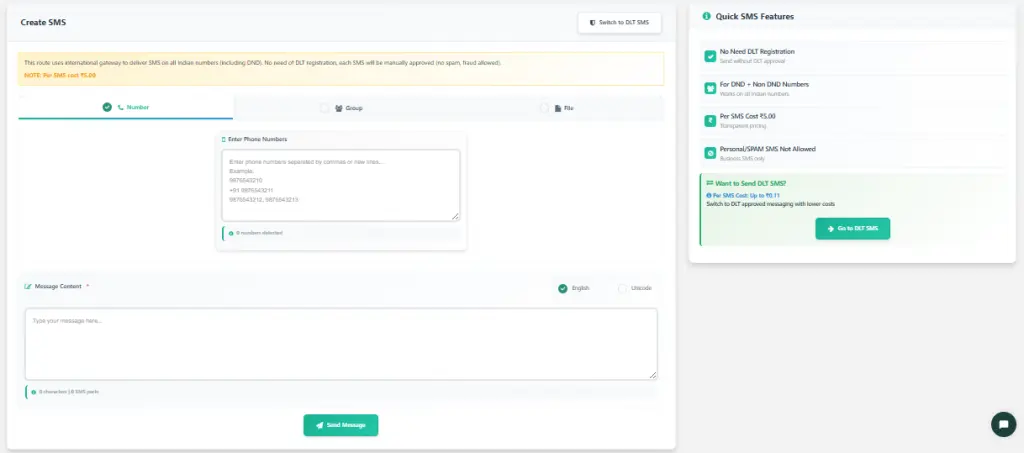
Step 2: Create and Send Your SMS #
-
You are now on the Create SMS page.
-
At the top, you’ll see a note:
“This route uses an international gateway to deliver SMS on all Indian numbers (including DND)…”
This means no DLT registration is required, but each SMS will be manually approved and costs ₹5.00 per SMS. -
Choose how you want to add recipients:
-
Number – type phone numbers manually, separated by commas or new lines.
-
Group – select from your saved contact groups.
-
File – upload a file containing phone numbers.
-
-
In the Enter Phone Numbers box, type or paste the recipient numbers (e.g.,
9877543310, 9976543201). -
Scroll to the Message Content section and type your SMS message in the text area.
-
You can select English or Unicode for regional language support.
-
The counter below shows characters used and the number of SMS parts.
-
-
Review the Quick SMS Features panel on the right
Step 3: Enter Recipient Numbers and Message Content #
-
After selecting the Number option (as shown in the image), you’ll see two main sections:
-
Enter Phone Numbers
-
Message Content
-
-
In the Enter Phone Numbers box, type or paste the mobile numbers of your recipients.
-
You can separate numbers using commas or new lines.
-
The system will automatically detect how many valid numbers you’ve entered.
-
-
Next, scroll to the Message Content section and type your SMS text in the box provided.
-
Choose English or Unicode (for messages in regional languages).
-
The counter below shows the number of characters and SMS parts used.
-
-
Once you’ve entered both the recipient numbers and the message text, click the Send Message button at the bottom to send your SMS instantly.

Step 4: Send SMS Using a Group #
-
Select the Group option on the Create SMS page.
-
If you have an existing group, choose it from the Select Contact Group dropdown.
-
If you want to create a new group, click on Create New Group — this will open the Managing Contact Groups page with detailed steps to add a new group.
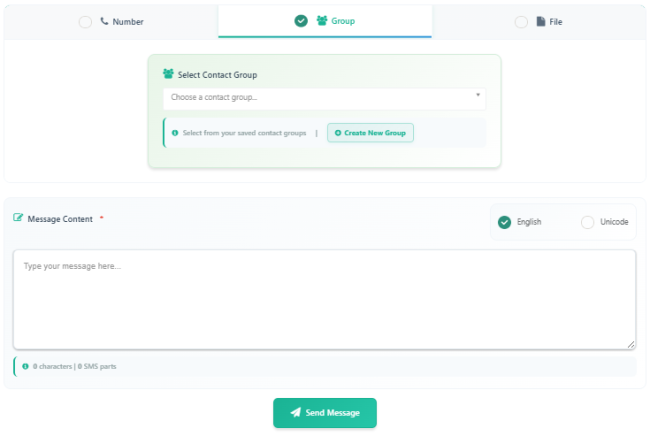
- After selecting or creating your group, type your message in the Message Content box.
- Choose English or Unicode as your preferred message type.
- Click Send Message to send your SMS to all contacts in the selected group.
Step 5: Send SMS Using a File #
-
Select the File option on the Create SMS page.
-
Click the Upload Contact File area to browse and upload your file or drag and drop it directly.
-
Supported file types: CSV, XLS, XLSX, TSV.
-
-
If you don’t have a file ready, click Download Sample File to see the correct format for uploading contacts.
-
Ensure your file contains valid phone numbers in the required format.
-
In the Message Content section, type your SMS message.
-
Choose English or Unicode for your message language.
-
Click Send Message to send your SMS to all numbers in the uploaded file.
Step 6: Confirm and Send SMS #
-
After clicking Send Message, a preview window will appear showing your message details.
-
Review your message carefully, then click Confirm to proceed.
-
The Number Alerts and Credit Alerts pop-up (as shown in the image) will appear.
-
Number Alerts shows:
-
Submitted Numbers – total numbers entered or uploaded.
-
Numbers to Send – valid numbers that will receive the SMS.
-
-
Credit Alerts shows:
-
Balance Available – total credit left in your account.
-
Balance Using – credits that will be used for this SMS.
-
-
-
Check these details to ensure everything is correct.
-
Click Send SMS to confirm and deliver your message, or click Cancel to stop the process.

Step 7: Message Sent
-
Click on Send SMS.
-
A green success notification appears at the top right.

The message “Message sent” confirms your SMS was successfully delivered.


